Thursday 26 August 2021

Naval Brigade

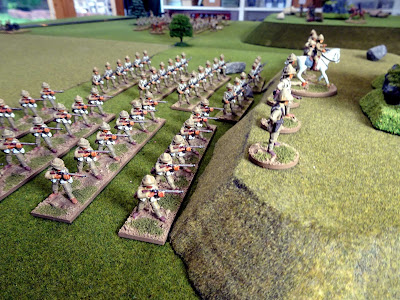
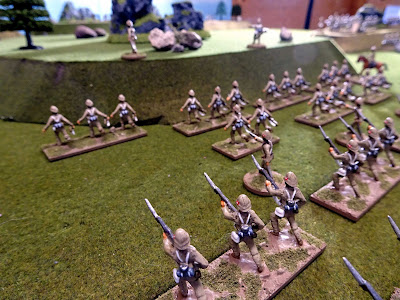
To refight the Battle of Graspan I need some figures to represent the Naval Brigade. This was a small unit comprised of Sailors and Royal Marines from HMS Doris (what a great name for a ship) who played a significant part in the action.  The force had a strength of less than 400 men so they will be represented by a half-unit of 12 figures in my game.


The figures are all by Jacklex and are really meant for a slightly earlier period, but they will suit my needs.

Saturday 7 August 2021

Belmont – The Game

The Guards get the ball rolling by beginning a steady advance in close order against the Boer position on Gun Hill. Scots Guards on the left, Grenadier Guards on the right.
On Turn 1 the British Field Artillery manage to spot the Boers on Gun Hill and actually score a hit.

The Boers roll a fluky 1 for morale and the whole Ross Commando flees the field, this is a dream start for Lord Methuen.

The Boers on Table Mountain, somewhat perturbed by this, open rapid fire to their front.

The Guards start to climb up Gun Hill. In the background 9th Brigade have begun to advance on Table Mountain.

The Guards crest Gun Hill and get their first view of Mont Blanc beyond.

Seeing that the British have occupied Gun Hill the Boer Pom Pom springs into action.

9th Brigade reach the bottom of Table Mountain and start to climb. The Northumberland Fusiliers are in the lead with the KOYLI coming up in support.

With the Guards on Gun Hill the scenario rules call for the Jacklex Commando to retire back to the safety of the Mont Blanc position.

The Guards descend Gun Hill and set off across the valley towards Mont Blanc. The Boer Pom Pom and artillery are starting to cause casualties but nothing that will slow their advance yet.

9th Brigade occupy Table Mountain. This is the end of Turn 6 and so far the whole battle is just like manoeuvres on Hounslow Heath. It couldn't be going any better for the British.

The situation at the end of Turn 6.

As the British close the range the Boers on Mont Blanc lay down fire with their rifles. The Newline Commando has been forced to move slightly to its left to plug the gap left by the Ross Commando.

On come the Guards although the Mausers are exacting a terrible price for the ground gained.
9th Brigade are also moving forward although they too are taking casualties now.

The British Field Artillery has come up and is now in a position to support the attack on Mont Blanc.

The Maxim has advance on the left and starts to lay down suppressing fire on the Boer position.

Casualties mount but the British advance continues.

Finally, it's all too much for the Boers who take to their ponies and flee.

Major General Colville steadies the Grenadier Guards who have collected 3 PIN markers. However, they have done enough and the British have secured a text book victory.

The situation at the end of play (Turn 9). The Grenadier Guards are outlined in yellow to show they have three PIN's. The two remaining Boer Commandos are outlined in white to show they are fleeing.

This game played out in a similar fashion to the real battle with a relatively easy win for the British albeit with some lucky die rolls. The Guards however did take quite a hammering with both battalions down to half strength by the end of the game.

I’ve had to tweak the morale rules again slightly as a result of this game as it has proved hard to balance them in a way that makes sure neither side has too much of an advantage. I think I’m pretty much there now.

Next up will be Graspan but I have to paint some Naval Brigade figures first before I can play that one.