Thursday 30 September 2021

Graspan – The Game

As solo games go this one was good fun to play and I was quite disappointed when it abruptly finished on turn 6, this is how it went:

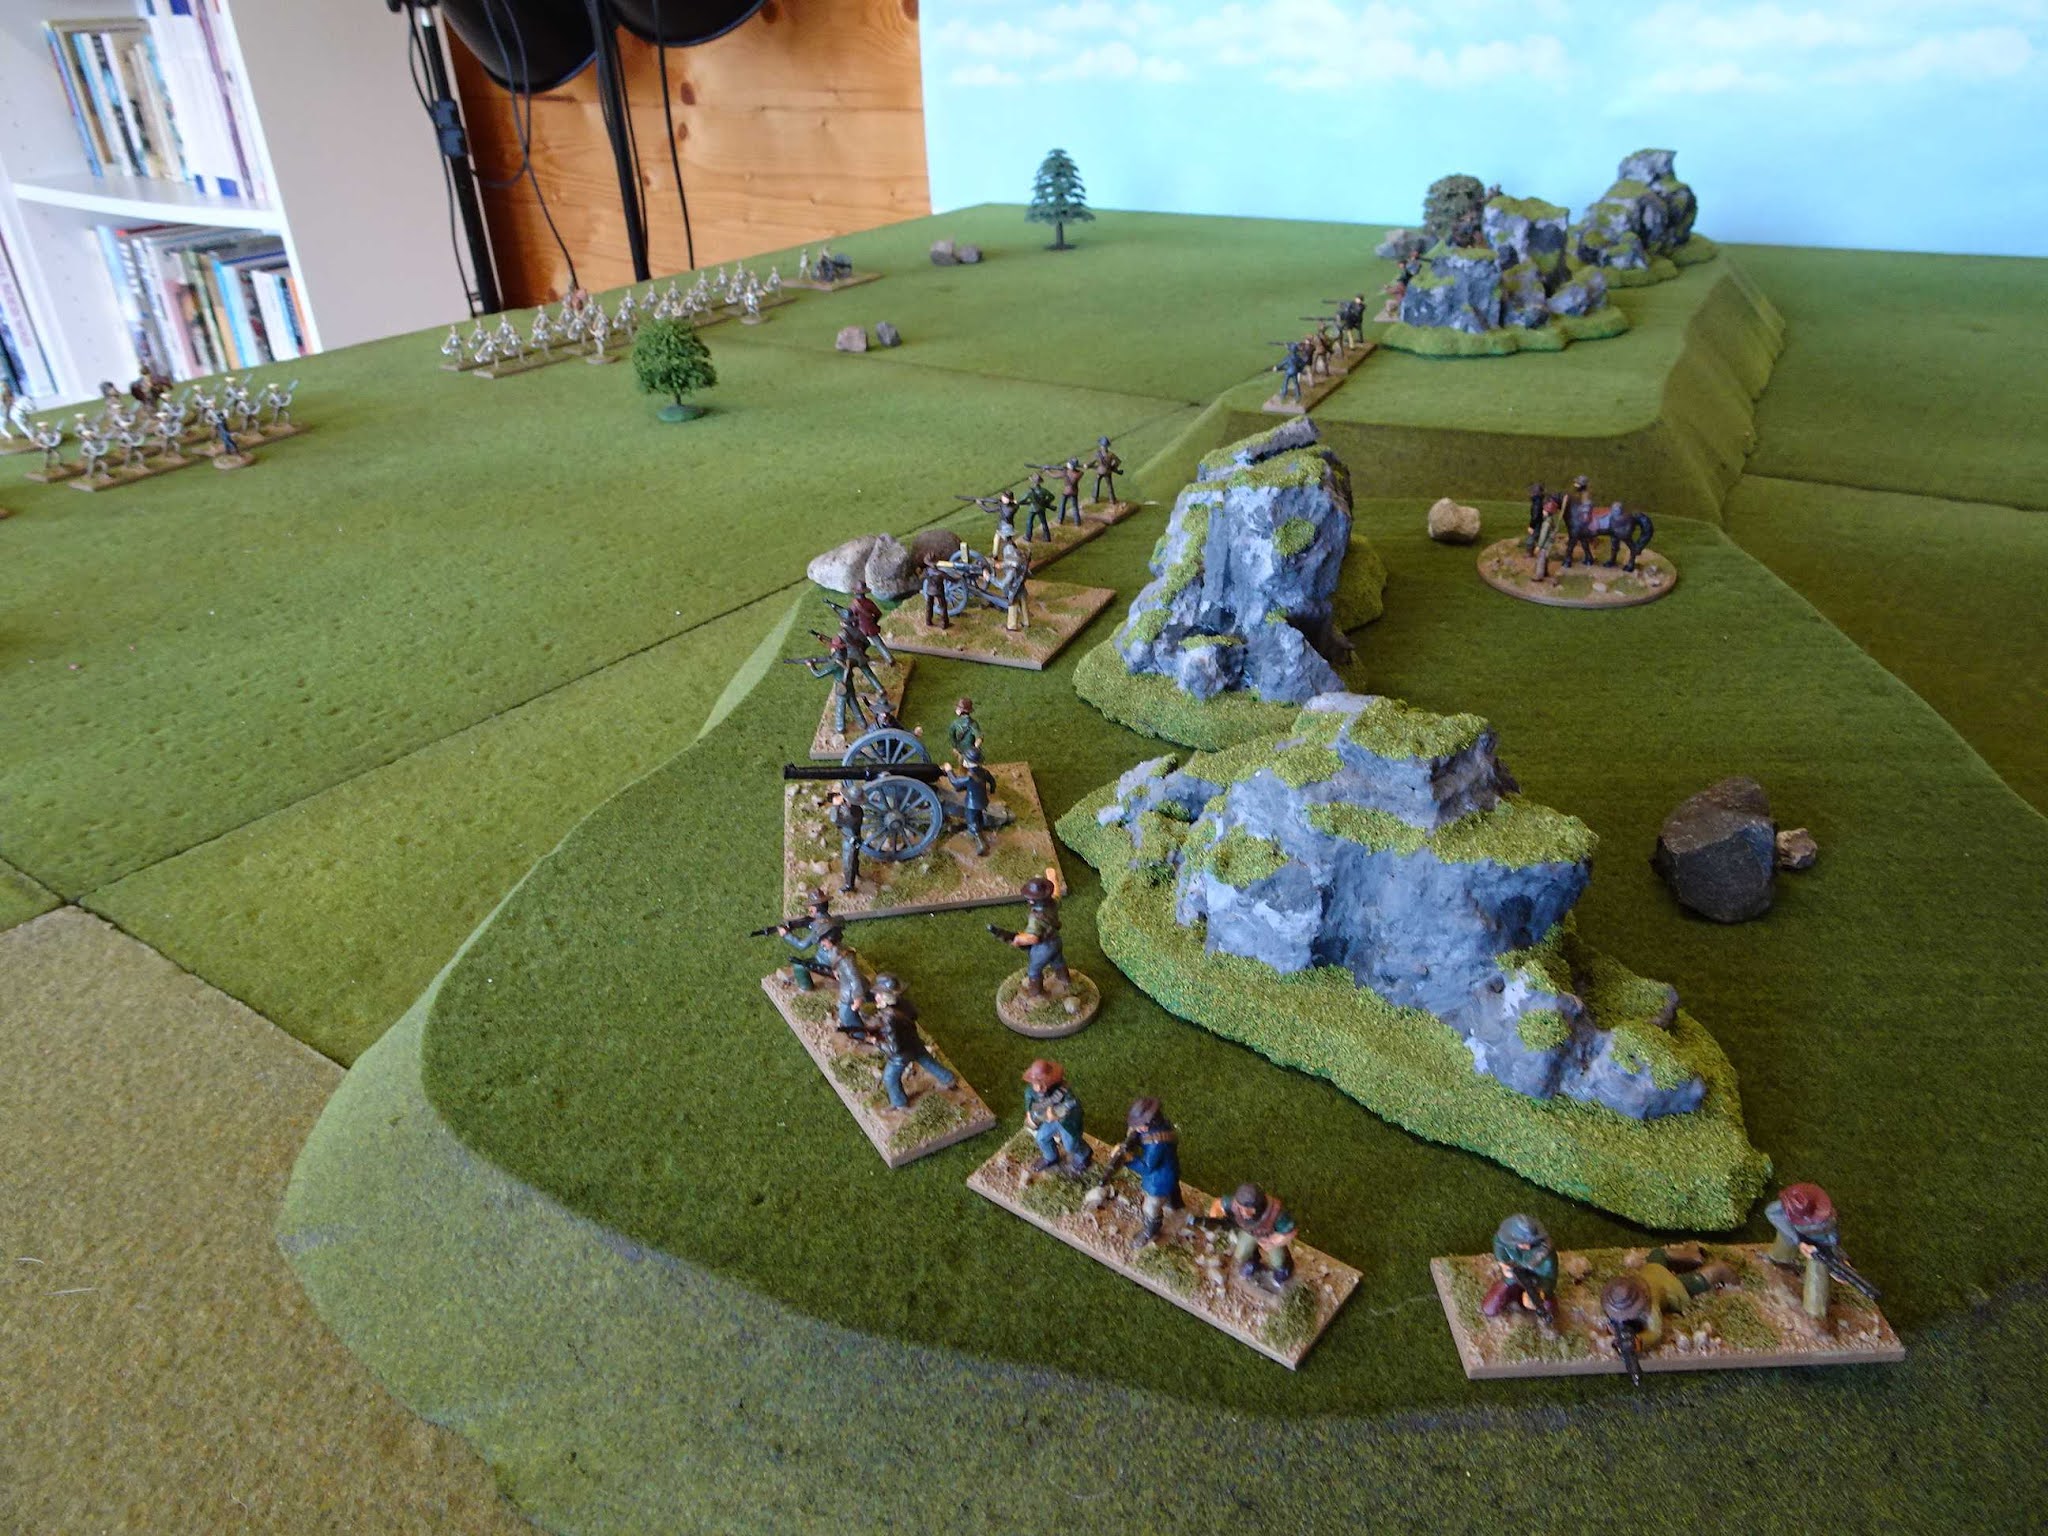
The game started with two turns of counter-battery fire which fell slightly in favour of the Boers although both sides lost some guns.
On turn one proper, 9th Brigade began a steady advance towards the Boer positions.

Captain Prothero RN is one of the first to fall - ironically not as the result of a Boer sharpshooter but to the random fall of a pom-pom shell.

The 9th Brigade line begins to falter as it closes with the Boer line. The red counters are 'Pin' markers, the unit can still fire but movement is reduced and no charge can be made.

Lord Methuen orders the 9th Lancers forward in support but there is little help that these mounted men can give and they soon pull back out of rifle range.

With Captain Prothero down, Featherstonehaugh rides forward to give the Naval Brigade the benefit of his +1 to morale but even his presence could not shift those Pin markers.

The North Lancs. are taking heavy casualties too but strangely their Officers were to escape the battle unscathed.

The Boers are now pouring a terrific fire down onto the British line.

Turn 3 and the Scots Guards arrive and start to hurry forward as quickly as they can. Meanwhile 9th Brigade have been ordered to lie down and return fire (the blue markers denote that a unit is prone).

Finally a bit of luck for the British as the Ross Commando takes some hits including one on Commandant Ross himself.


This is followed by signs that the Boer right flank is getting a bit shaky as two Boers from the Jacklex Commando decide it's time to go home.
But most of the Jacklex men are still willing to fight it out.

The Scots Guards continue to advance. To their front the KOYLI have three Pins which means they can neither move or fire until they can rally one off.

The North Lancs. put up a brave fight and almost rallied off all their Pin markers which would have given them a chance to charge the Boers, but it was not to be and with just 9 figures left they were removed from play.

Turn 5 and the Grenadier Guards arrive in the nick of time.

The Naval Brigade are worn out too - there will be no VC's for them.

The Scots Guards keep pushing forward while the KOYLI hang grimly on to their front.

The Jacklex Commando rolls low for morale and the whole lot take off.

Meanwhile the Royal Artillery finally silence the last of the Boer guns.

More and more Boers are taking to their ponies hoping to fight another day.

And finally, the Ross Commando breaks as the result of fire from the Maxim Gun. With two Commando's broken a British victory is declared at the end of turn 6.

Methuen is very pleased with the result believing that his decision to order an artillery bombardment prior to the attack has been a resounding tactical success.

The Maxim crew who fired the lucky winning shots. For some reason I forgot that the Boer rifle fire could reach this far and should have flattened the crew early on - no I'm not biased, not much anyway.

The tweaks that I’d made to the morale rules worked perfectly (even if I do say so myself) and gave me exactly the type of game I’ve been wanting from this project. If anything, the balance has been tipped very slightly in favour of the British, but I think this can be addressed by painting up a rather long overdue fourth Commando for the Boers.

I’ll be having a go at Modder River next once the Boers have received their reinforcements.

Sunday 26 September 2021

Graspan – Scenario

On the day following the Battle of Belmont Methuen’s force continued its march north following the route of the railway line. 9th Brigade led the advance while the Guards were allowed to bring up the rear because of the heavy casualties they had suffered the previous day. The following morning (25th November 1899) 9th Brigade reported that the Boers had occupied a line of low hills east of the railway covering the approach to Enslin Station.

The Boer force was not the same one that Methuen had faced at Belmont and included Transvaal Boers with strong artillery support under Commandant Roos de la Ray. Methuen deployed his artillery and commenced a heavy fire on the Boer positions whilst summoning the Guard units forward to support an attack by 9th Brigade.

This scenario focuses on the action on the British right involving the North Lancs, the KOYLI and the Naval Brigade.

Initial deployments - the game will be played using the full width of my 6' x 4' table.

Special Rules

1. Methuen began the battle with a heavy artillery barrage to try to knock out the Boer guns. Rule: The game starts with an additional two turns of counter battery fire, the guns on either side may only fire at the enemy artillery.
2. The field officers in the British Regiments had learnt by now to remove any signs of rank that might attract the fire of Boer marksmen however the Navy personnel did not have the same experience. Rule: The Naval Brigade testing for fallen officers lose their officer on a die roll of 1, 2 or 3.
3. The Naval Brigade showed great elan at the real battle and successfully stormed a kopje. Rule: The Naval Brigade adds +1 to any melee die roll.
4. The Guards were assigned to protect the camp and were called forward in a hurry when battle commenced. Rule: The Scots Guards arrive on turn 3 and the Grenadier Guards on turn 5, they arrive deployed in line on the British base line.


The Boers occupying the high ground at Graspan.


Order of Battle

British C in C Lord Methuen
Guards Brigade (Colville)
Grenadier Guards
Scots Guards
9th Brigade (Featherstonehaugh)
North Lancashire Regiment
Kings Own Yorkshire Light Infantry
1 x Maxim Gun
2 x Batteries Royal Field Artillery (75 & 18 batteries)
Naval Brigade
9th Lancers

Boers C in C Commandant Koos de la Ray
Jacklex Commando
Ross Commando
Newline Commando
2 x Field Artillery
1 x Pom Pom

The KOYLI prepare to advance. These are more very nice Jacklex figures efficiently supplied to me earlier this year by Mark of Jacklex.

Victory Conditions

To win the British must force two of the three Boers Commandos to flee by the end of Turn 12. The Boers win if they can reduce the British force to below 50% strength.

Friday 17 September 2021

On to Kimberley

 Following the Battle of Belmont the British continue their advance to relieve Kimberley.

Lord Methuen's column continues north along the route of the railway line towards Kimberley. 9th Brigade are in the lead with flanking cover provided by the 9th Lancers.
"I say Colville old chap, your Guards can take the day off after the terrific show yesterday!"
"Yes Sir, we need some time to lick our wounds."

"Featherstonehaugh's 9th Brigade chaps should easily brush off any Boers we encounter although I doubt very much they'll make a showing again this side of Kimberley!"
"I'm sure you're right Sir."

The sailors from HMS Doris are glad to be in the advance guard having missed the action at Belmont. Captain Prothero is in full Naval Dress in the best traditions of the service with a conspicuous shiny scabbard and pistol, he can't understand why those scruffy army officers have ditched their swords and taken up rifles like mere rankers!

Next up will be the Battle of Graspan.