Thursday, 26 August 2021

Naval Brigade

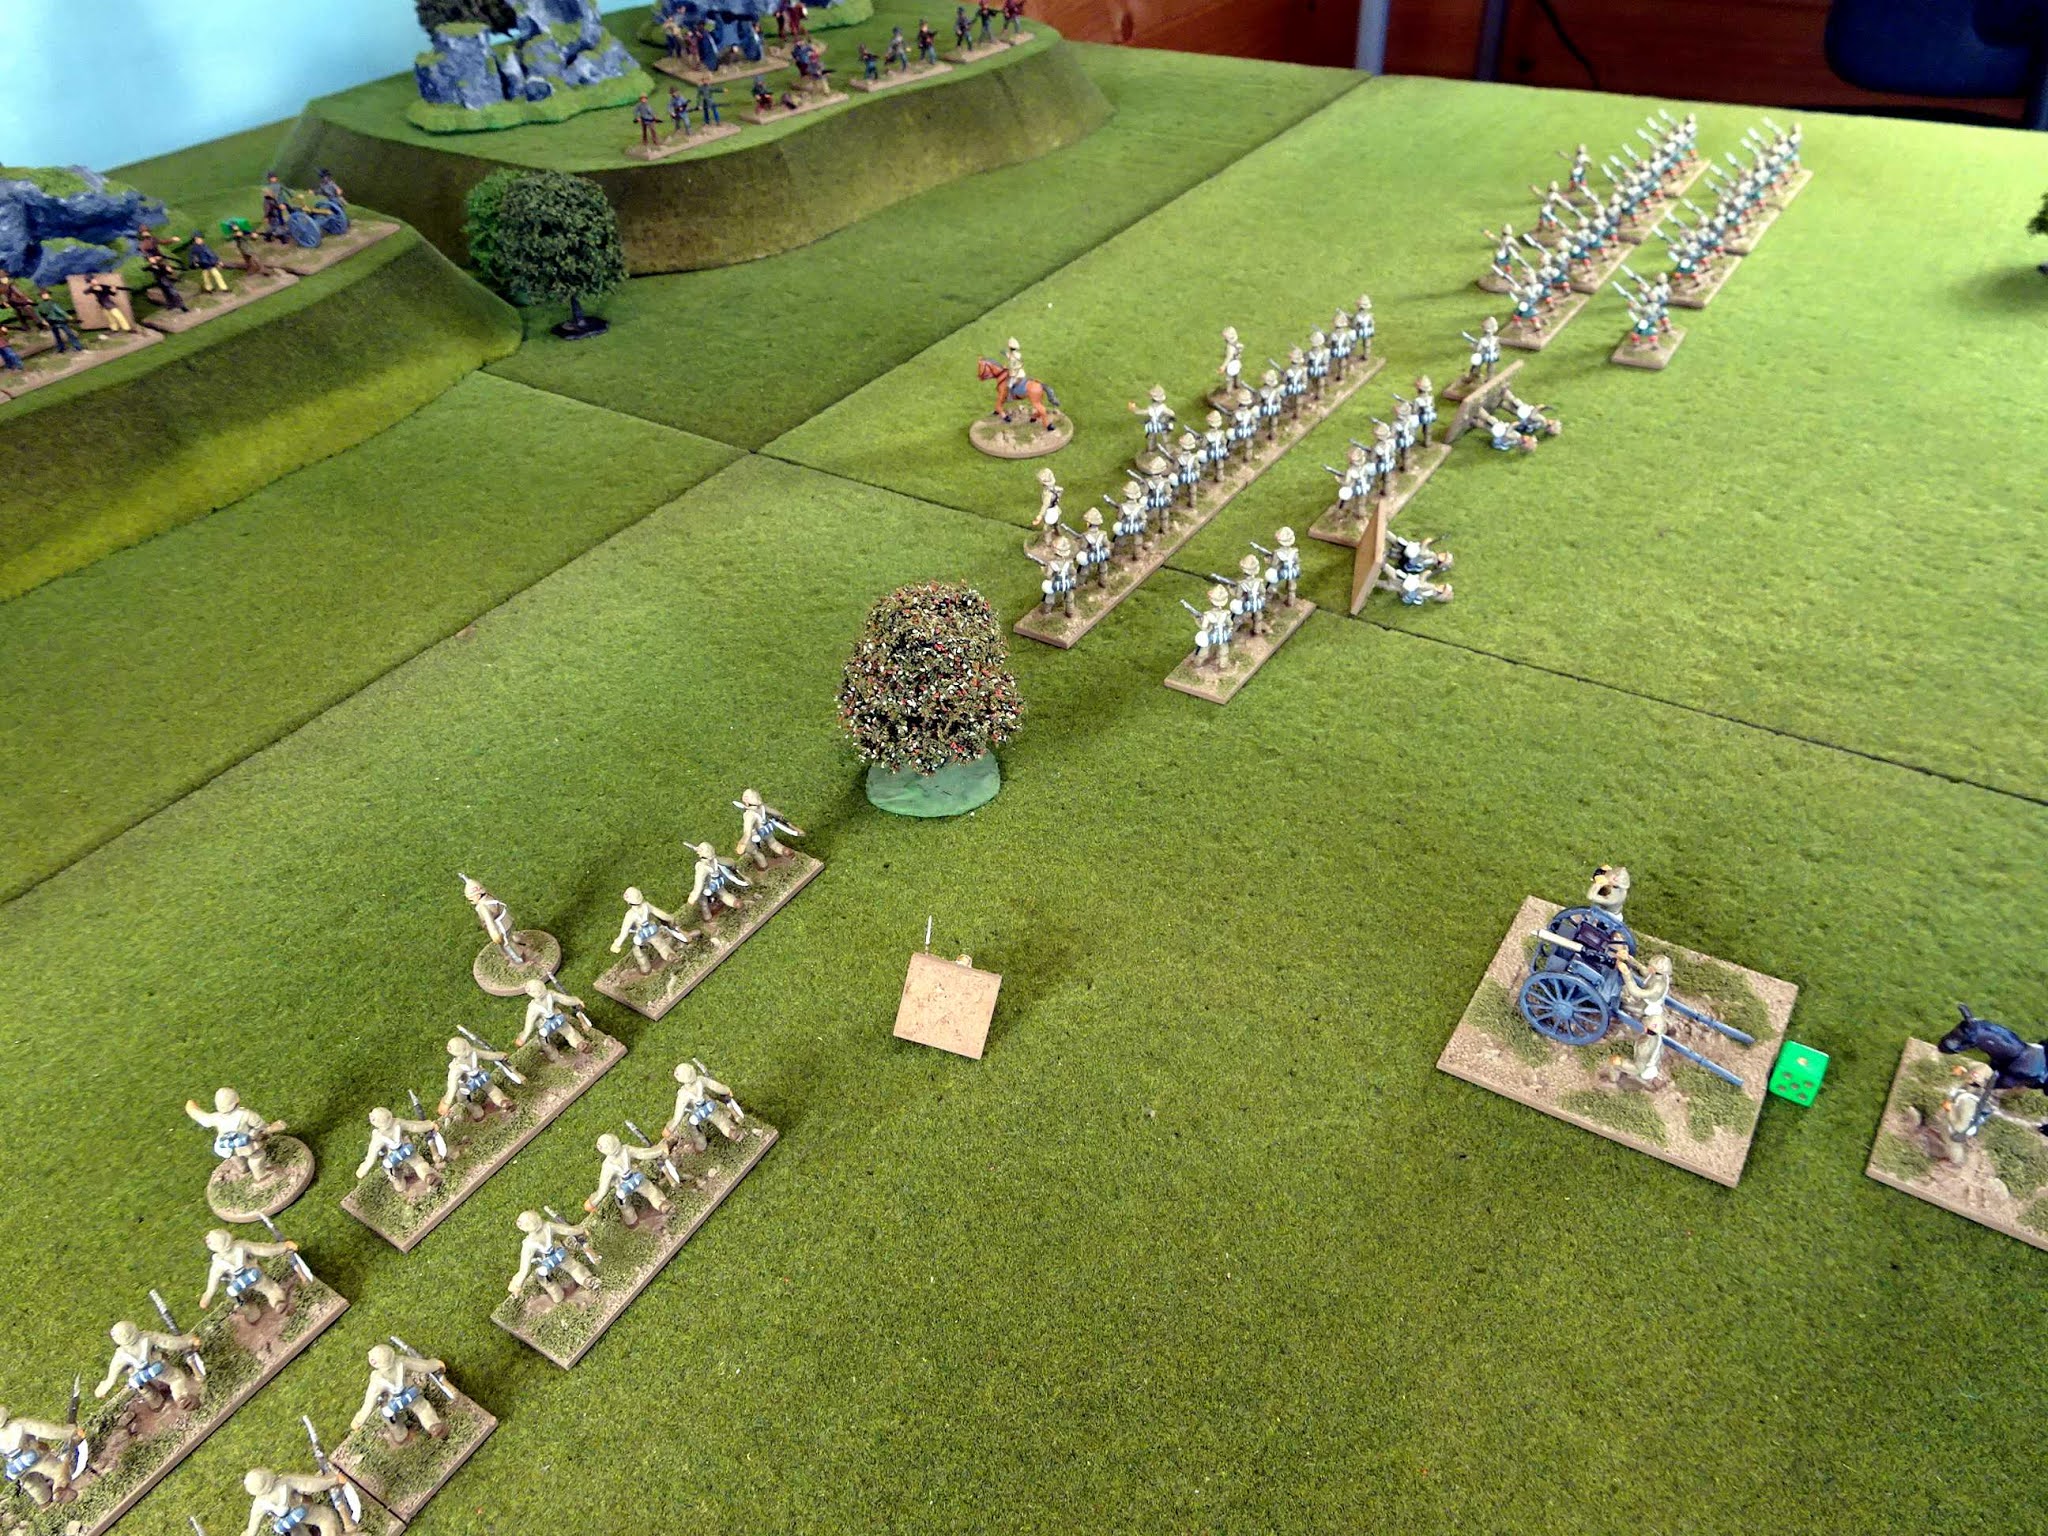
To refight the Battle of Graspan I need some figures to represent the Naval Brigade. This was a small unit comprised of Sailors and Royal Marines from HMS Doris (what a great name for a ship) who played a significant part in the action.  The force had a strength of less than 400 men so they will be represented by a half-unit of 12 figures in my game.


The figures are all by Jacklex and are really meant for a slightly earlier period, but they will suit my needs.

Saturday, 7 August 2021

Belmont – The Game

The Guards get the ball rolling by beginning a steady advance in close order against the Boer position on Gun Hill. Scots Guards on the left, Grenadier Guards on the right.
On Turn 1 the British Field Artillery manage to spot the Boers on Gun Hill and actually score a hit.

The Boers roll a fluky 1 for morale and the whole Ross Commando flees the field, this is a dream start for Lord Methuen.

The Boers on Table Mountain, somewhat perturbed by this, open rapid fire to their front.

The Guards start to climb up Gun Hill. In the background 9th Brigade have begun to advance on Table Mountain.

The Guards crest Gun Hill and get their first view of Mont Blanc beyond.

Seeing that the British have occupied Gun Hill the Boer Pom Pom springs into action.

9th Brigade reach the bottom of Table Mountain and start to climb. The Northumberland Fusiliers are in the lead with the KOYLI coming up in support.

With the Guards on Gun Hill the scenario rules call for the Jacklex Commando to retire back to the safety of the Mont Blanc position.

The Guards descend Gun Hill and set off across the valley towards Mont Blanc. The Boer Pom Pom and artillery are starting to cause casualties but nothing that will slow their advance yet.

9th Brigade occupy Table Mountain. This is the end of Turn 6 and so far the whole battle is just like manoeuvres on Hounslow Heath. It couldn't be going any better for the British.

The situation at the end of Turn 6.

As the British close the range the Boers on Mont Blanc lay down fire with their rifles. The Newline Commando has been forced to move slightly to its left to plug the gap left by the Ross Commando.

On come the Guards although the Mausers are exacting a terrible price for the ground gained.
9th Brigade are also moving forward although they too are taking casualties now.

The British Field Artillery has come up and is now in a position to support the attack on Mont Blanc.

The Maxim has advance on the left and starts to lay down suppressing fire on the Boer position.

Casualties mount but the British advance continues.

Finally, it's all too much for the Boers who take to their ponies and flee.

Major General Colville steadies the Grenadier Guards who have collected 3 PIN markers. However, they have done enough and the British have secured a text book victory.

The situation at the end of play (Turn 9). The Grenadier Guards are outlined in yellow to show they have three PIN's. The two remaining Boer Commandos are outlined in white to show they are fleeing.

This game played out in a similar fashion to the real battle with a relatively easy win for the British albeit with some lucky die rolls. The Guards however did take quite a hammering with both battalions down to half strength by the end of the game.

I’ve had to tweak the morale rules again slightly as a result of this game as it has proved hard to balance them in a way that makes sure neither side has too much of an advantage. I think I’m pretty much there now.

Next up will be Graspan but I have to paint some Naval Brigade figures first before I can play that one.

Thursday, 29 July 2021

Belmont – Scenario

Lord Methuen was tasked with marching from the Orange River along the line of the Cape Town to Bulawayo Railway and relieve Kimberley some 75 miles to his north. Both he and Buller were confident this could be achieved quickly, and that the Boers would not put up any stiff resistance when faced with British regulars.

As his column began to advance reports soon arrived that the Boers were occupying a line of Kopjes at Belmont. Methuen did not believe that the Boers were present in any significant numbers and rejected the suggestion that he should outflank the enemy resolving instead to carry the position by a frontal attack.

This scenario recreates part of the resulting battle on 23rd November 1899 and concentrates on the action to take Mont Blanc.


The table showing the main terrain features. The Boers have two lines of defence, the first anchored on Table Mountain and Gun Hill and the second on Mont Blanc.

Special Rules
1. The Orange Free State Boers were reluctant to stay put under shrapnel fire, and many left the battle early once fired upon. Rule: On the first turn that the British artillery fires on a Commando roll 1xD6, the result is the number of Boers who panic and flee.
2. During their night march to the start line the Guards became bunched up losing their extended order formation. Rule: The Guards may not fight in extended order.
3. 9th Brigade was ordered to wait until the Guards attacked Gun Hill before advancing. Rule: 9th Brigade may not advance or fire until the turn after the Boers open fire on the Guards.
4. When the British reached the dead ground in front of Table Mountain and Gun Hill, the Boers lost heart and retired to Mont Blanc. Rule: if a British battalion makes it to the dead ground in front of either of these Kopjes the Boers will abandon both positions and retire to Mont Blanc. This rule applies even if the British infantry are pinned.

The table layout showing the initial dispositions of the troops.

Order of Battle

British C in C Lord Methuen
Guards Brigade (Colville)
Grenadier Guards
Scots Guards
9th Brigade (Featherstonehaugh)
Northumberland Fusiliers
Kings Own Yorkshire Light Infantry
1 x Maxim Gun
2 x Batteries Royal Field Artillery (75th & 18th batteries)

Boers C in C Commandant Prinsloo
Jacklex Commando
Ross Commando
Newline Commando
1 x Field Artillery
1 x Pom Pom

9th Brigade prepare to advance. Their objective is to take Table Mountain before joining with the Guards for an assault on Mont Blanc.
Lord Methuen examines the Boer positions prior to ordering the attack to commence.

Victory Conditions
To win the British must occupy Mont Blanc with at least one unit by the end of Turn 12. The Boers win if they can reduce the British force to below 50% strength or prevent the British occupying Mont Blanc.

Wednesday, 30 June 2021

1st Devonshire Regiment (again)

I’ve just completed this unit of Jacklex British infantry which has prompted me to carry out a small reorganisation of the British forces. This unit will now be designated as the 1st Devonshire Regiment and my previous unit to carry this name (click here) has been promoted to the Guards.

It seemed like a good idea to use my two Raventhorpe units as Guards because the figures are slightly bigger and chunkier than Jacklex figures.

The Battle of Belmont will be along shortly.

Wednesday, 10 March 2021

Ladysmith - The Game


Their ranks dressed, Col. Hamilton's Brigade prepares to advance.
The Colonel is not sure of the wisdom of a frontal attack on the Boers after his experiences at Elandslagaate but "orders is orders".
As well as the Long Tom the Boers have a 75mm Cresout gun on Pepworth Hill. This became an early target of the British Field Artillery although scoring hits on it was hard at long range.
On come the Gordon's - so far so good. 
The Boers let the British advance to medium range and then...
...the crack of their rifles rings out and the first men start to drop.
However, despite this the casualties were surprisingly light and I was starting to get optimistic about the chances of the British as they closed on the Boer position.

But then things started to unravel a little as more men fell and the Gordons received a pin which broke up the neat Brigade line of advance.
The Maxim finally came in to action but by now had already been reduced to one SP (strength point) so was pretty ineffective.

But it wasn't all one-way traffic as the Boers were taking hits too.

Turn 5 and some devastating fire from the Mausers caused severe losses and PINs amongst the British battalions. Things were not looking good.
The Boers defending the Long Tom started to take a few hits...
...but Hamliton and his men were in a desperate position.
The Devons and the Manchesters were worn down and fell below 9 figures so were forced to retire.
Only the Gordons remained unpinned and in reasonable condition but it was too late now as the army had fallen below 50% strength - a Boer victory was declared.
The one good result for the British was the failure of  'Long Tom' to cause any serious damage to Ladysmith. The three blue counters record the only hits on the town! 

This was a difficult scenario for the British to win so there was no real surprise at the result. There was a point though where the British rallied off all their PIN markers in one turn and I thought they may be in with a shout to make a charge, but the following round of Boer firing put paid to that idea.

The British may have been able to win if I’d played a more tactical game and bombarded with the artillery for a few turns before advancing and possibly stacked up two units on the right opposite the Long Tom, but I wanted to go with the historical deployment.

The British forces are now bottled up in Ladysmith so the action will move next to the Orange Free State and the advance of Lord Methuen’s column. 

Thursday, 4 March 2021

Ladysmith - Scenario

Following the British victory at Elandslaagte General White ordered all the British forces to fall back on Ladysmith. The Transvaal Boers followed up and soon occupied the high ground dominating the town. When news arrived that the Orange Free State Boers were on the way to join the Transvaal Boers, White decided to attack the enemy positions to prevent a junction of their forces.

White, having previously served in India, had no experience of facing troops armed with modern weapons and underestimated the abilities of the Boers to manoeuvre as well as to fight. He attempted a double envelopment of the Boers with Carleton advancing on the left and Grimwood on the right whilst Colonel Hamilton (with the Brigade that had been engaged at Elandslaagte) attacked Pepworth Hill in the centre.


On the morning of 30 October, with the attacks on either flank having failed, Colonel Hamilton found himself required to make a frontal attack on the central Boer position on Pepworth Hill. The Boers had a strong gun line established on the Hill which included a Long Tom gun that could out-range the British artillery and reach to Ladysmith itself. 

Special Rules
1. Ladysmith is located on the base line of the British forces and is allocated a Damage Point (DP) value of 15. The Boer Long Tom may fire on the town and inflict DP's as if firing on troops in open order. If the town receives total hits equal to it's DP value the British will lose heart and retire resulting in a victory for the Boers.
2. If the British succeed in eliminating the Long Tom the game ends in a British victory (note that the British Field Artillery are out of range of the Long Tom and cannot fire on it nor can they move).
3. All other rules are played as normal.

Order of Battle

British C-in-C Lt General White
Col Ian Hamilton
Devonshire Regiment
Manchester Regiment
Gordon Highlanders
1 x Maxim Gun
3 x Batteries Royal Field Artillery (21st, 42nd & 53rd batteries)

Boers C-in-C Commandant Joubert
Ross Commando
Jacklex Commando
Newline Commando
1 x Field Artillery
1 x Pom Pom
1 x Long Tom

Victory Conditions
In addition to the victory conditions already stated the game will end in a Boer victory if the British fail to destroy the Long Tom by the end of turn 12.

Sunday, 28 February 2021

Ladysmith

26 October 1899, Ladysmith Natal, 12.00 noon – General Yule has just brought his column in from Dundee after a gruelling retreat across the Biggarsberg Hills. The Transvaal Boers are closing in on the town and now control the main Dundee to Ladysmith road.

The British troops are exhausted and demoralised after their march from Dundee but relieved to reach the safety of Ladysmith.
General Yule reports to Lt General Smith
"Sir, I have brought every able-bodied man with me from Dundee."

"What of Penn Symons what, what?"
"Sir, he was dreadful wounded at Talana Hill and had to be left behind with our other sick and wounded, I fear he is in Boer hands."

"Poor show, well can't be helped begad!"
"No sir, and I fear the enemy are not far behind us."

Meanwhile on Pepworth Hill just beyond the town the Boers are installing one of their 155mm Long Tom guns.
"Get that gun carefully sighted, the Brits down there will soon be in for one helluva surprise!" 

Ladysmith will be the next battle in my series of re-fights.